Over the years, home printing techniques for card games have evolved into a process that is both efficient and cost-effective while delivering professional-quality results. Whether you’re crafting game prototypes or printing Print & Play games for testing, this method is an excellent choice.
While professional printing services are always an option, this approach strikes the perfect balance between quality and practicality, especially for frequent prototyping or updating games. For those seeking to add creative finishing touches, such as unique packaging, custom paper bags in Dubai can elevate your game’s presentation. Here’s how the process works:
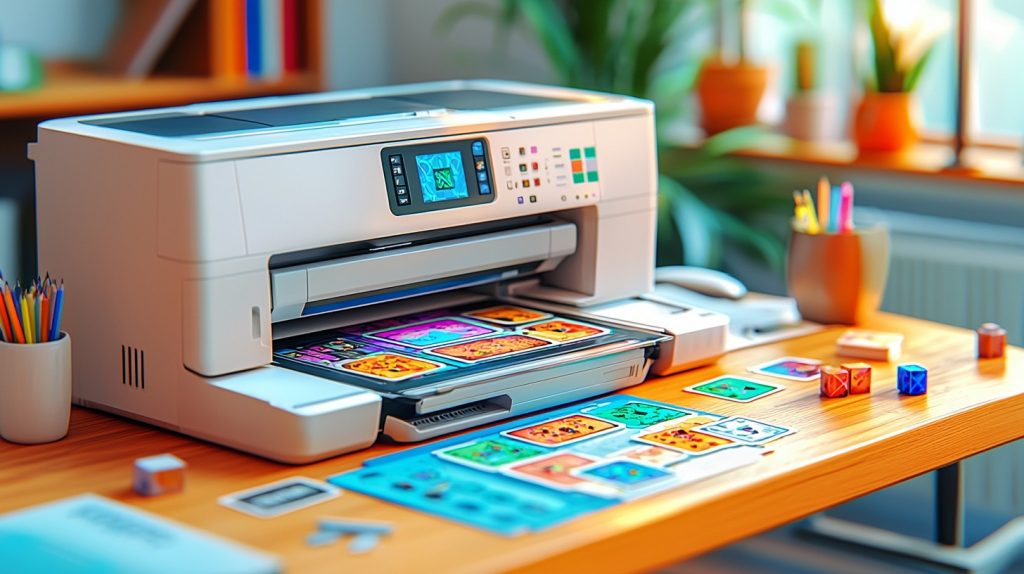
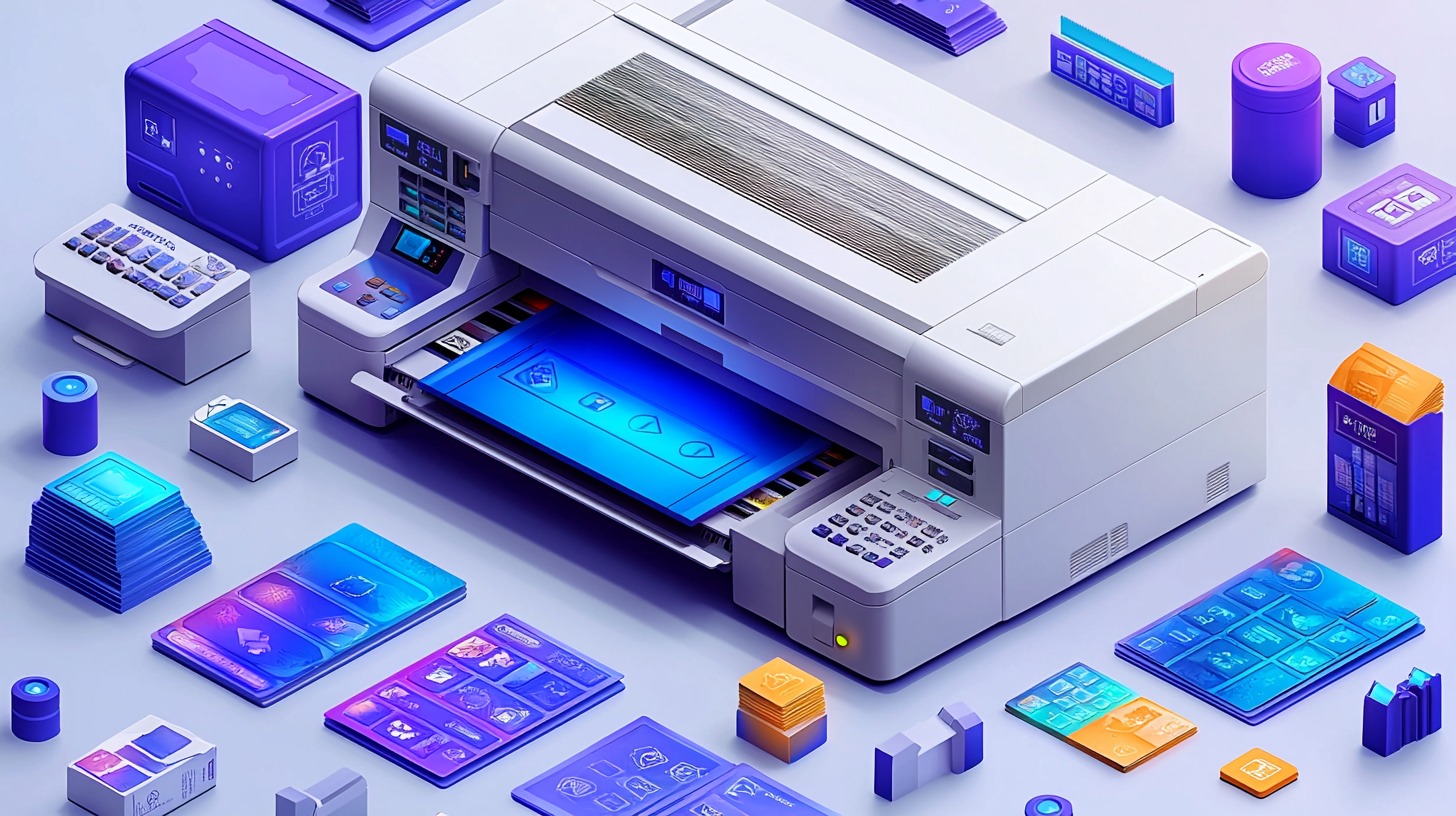
1. Use an InkJet printer for reliable results
A good printer is essential for printing cards. The InkJet Printer has proven to be a reliable choice for card printing projects. One box of ink typically claims to print around 165 color pages, though detailed card designs may reduce this to about 125 pages per cartridge. This approach is generally more budget-friendly than relying on local print shops, which can become costly over time. However, for smaller projects, a local printer might still be a practical option.
2. Print on thick cardstock for durable cards
Printing on thick cardstock significantly improves the quality of cards. Thin paper often bleeds ink and feels flimsy, whereas heavy cardstock offers a professional feel, making the cards easier to handle and more durable. Some creators opt to print on thinner paper and place the designs in front of old trading cards inside sleeves as a cost-saving measure. While this method works well for early-stage prototypes, switching to thick cardstock or even using branded paper bags for packaging can greatly enhance the overall quality and presentation of final versions.
3. Cut cards cleanly with scissors or a paper cutter
Precision is key when cutting cards. Scissors work well, but a paper cutter, especially a guillotine-style one, ensures cleaner edges and saves time. A rotary paper cutter can provide even greater precision, making it ideal for detailed projects or crafting with kids. Guillotine cutters are typically faster, while rotary cutters offer more control, depending on the project’s needs.
4. Round the corners for a professional finish
Rounded corners immediately elevate the look and feel of cards. A corner cutter is a simple tool that adds a polished, professional edge to the cards. Rounded corners also make the cards easier to shuffle and handle, improving the overall playtesting experience.
5. Sleeve cards for durability and easy shuffling
Sleeving cards adds durability and protects them from wear. Matte card sleeves provide a smooth, professional feel while preventing ink from rubbing off during shuffling. Another option is using acrylic adhesive spray to coat the cards for added protection. Standard-sized sleeves (such as those for Magic the Gathering cards) work well for poker-sized cards (2.5 x 3.5 inches).
Conclusion
By implementing these steps, you can significantly enhance the quality and functionality of your game prototypes. From creating clear, readable cards to ensuring their durability with sleeves, every detail contributes to a more enjoyable playtesting experience. A well-prepared prototype not only helps testers focus on gameplay mechanics but also presents your game in a professional and polished manner.
Moreover, a thoughtful presentation shows your dedication and can leave a lasting impression on potential publishers or collaborators. Attention to these small but critical details will set your game apart and pave the way for a successful development process.


More Stories
Online team building games for remote employees
What makes a good RNG in online casino games
The impact of volatility on casino game outcomes